Nah, it was an extension called 123 Cut or Slice or something, and it was a beta extension to lasercut models in two ways–as a series of slices, and as a boxy-form like what you’re doing here. I have no sources I can share.
hmmhm I see. I did some more searching and I found this very promising looking piece of software:
it’s a closed beta and I shall write them a mail asking to be part of it. Wish me luck!
Tiny update time!
I got into the beta, yay! And it works really well and is perfect for making a case for this thing.
Speaking of which: Waveshare got new cute displays for cheap. They can even bend now:
https://www.waveshare.com/product/modules/oleds-lcds/e-paper/2.13inch-e-paper-d.htm
something something wearable beeminder status wrist bands. Nah that sounds dumb. Except maybe for the next quantified self conference, @dreev? Or you could put them on your bike helmet for… absolutely no reason 
1 Like
So I tried to get this done in kyub and the software is cute and really easy to use and all but unfortunately it’s not quite there yet. In particular I found no way to create a mount in the case for the display.
Now I could just screw it onto the box like a normal person but I want that thing to be slightly recessed so it is level with the rest of the case and doesn’t stick out.
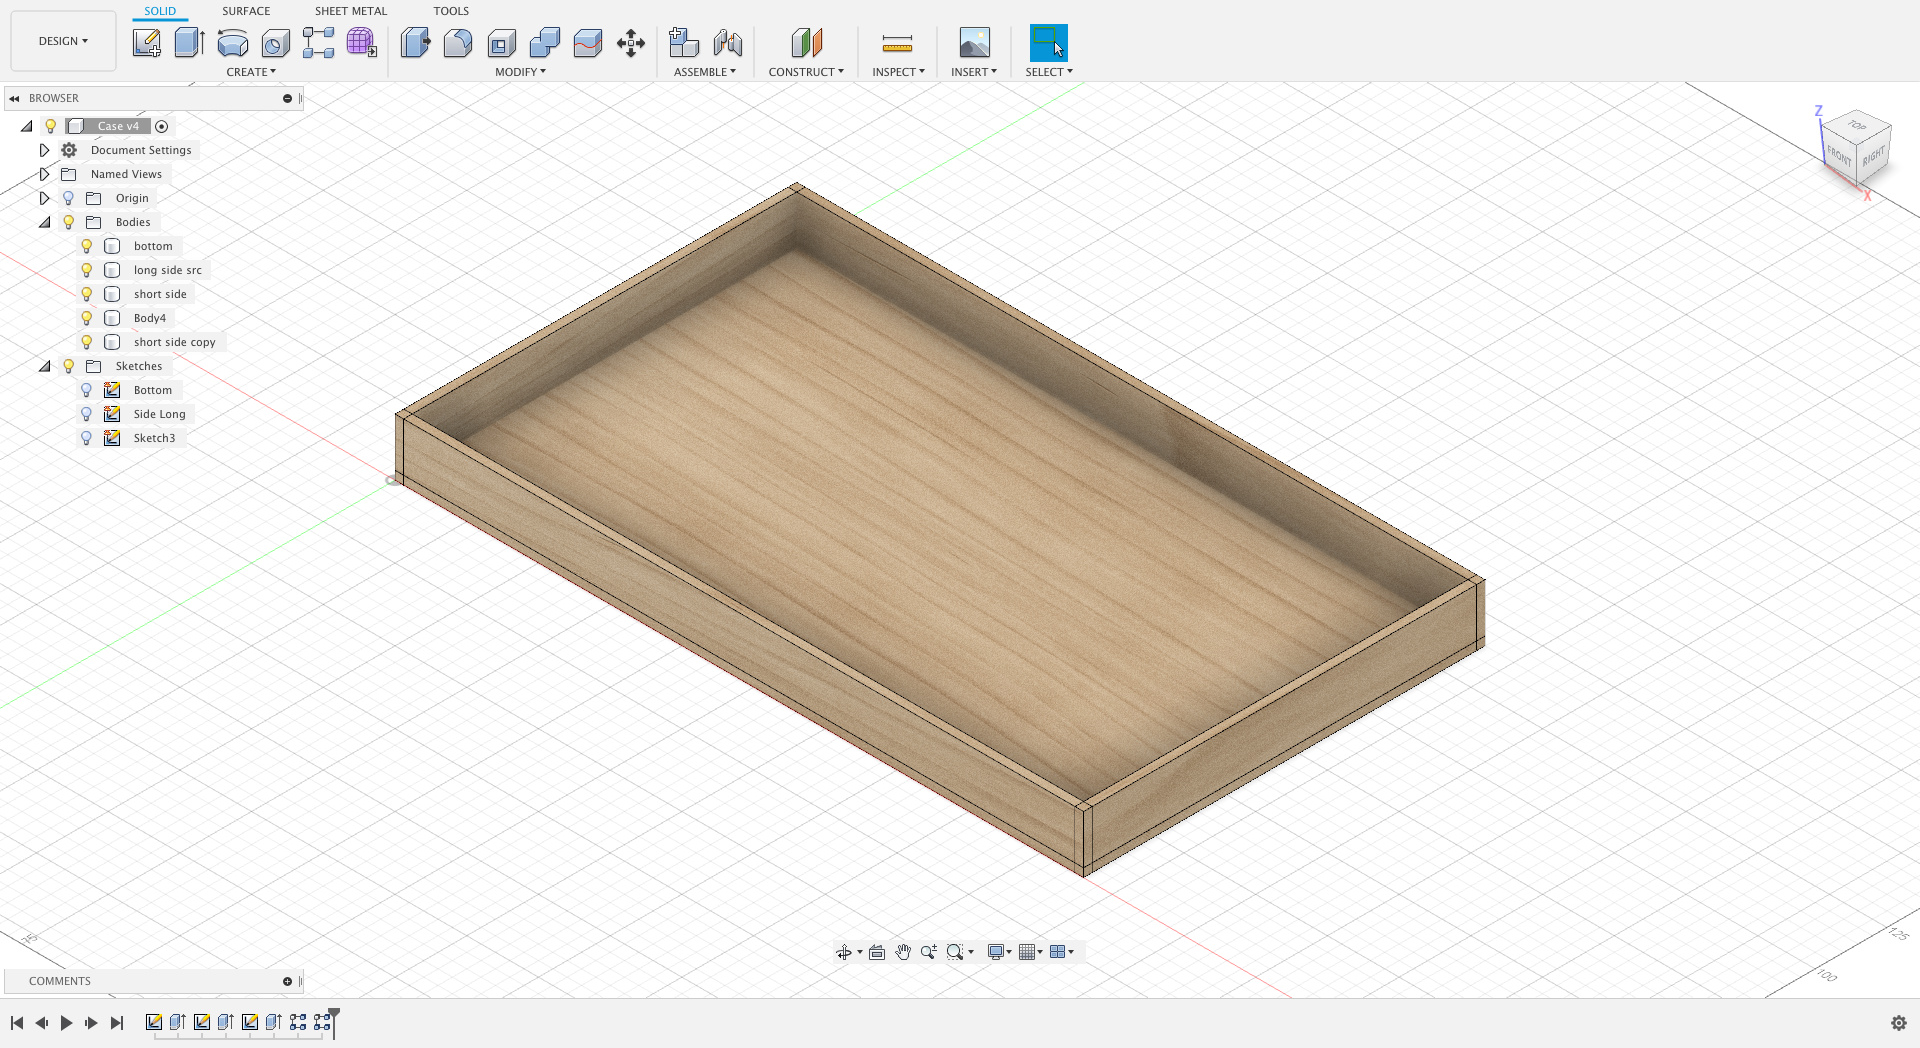
So I bit the bullet and went for the nuclear option that is Fusion 360:
Seems like a lot of trouble for making a case, hu? Told ya I’d be spending more time on that than the software part 
3 Likes
@dreev Is this offer still available? I’d super like to build an ‘is it safe to go to bed?’ traffic light using a raspberry pi and this traffic light. Basically, I’m thinking it would light up red if there were any goals due before 7am the following morning, yellow if goals were due before 24 hours after that, and green otherwise. Would definitely be sharing updates, instructions, code, etc, and I’d beemind the project for sure.
3 Likes
Hi! Yup! We’d be happy for you to be the last one to hop on this train!!
I think @dreev already has your address info (and thanks for already sending us the list of items and their costs and all that!!) and I’m really looking forward to seeing what this looks like when it’s all done!
2 Likes
This project is seeing some attention again! I will for now focus on getting the software side of things done before I perfect the case. In the meantime I have learned a ton about Fusion 360 and its bugs so that’s good (especially the former).
Waveshare, the manufacturer of the e-ink display, don’t really provide that much of a library to access it. But Github provides!
This is one of the many flavours of the GxEPD library and supposedly the one people should use when they start new projects. Time worked in my favour here since this stuff is all really new in the DIY Arduino world so fingers crossed this iteration of the library will have fewer kinks than its predecessor.
One cool thing about this lib is that it abstracts over the actual display, meaning in theory it should be little effort to port this over to some other supported e-ink display (of which there are many, see the Github for a list).
1 Like

Looks nice!!
1 Like
It’s that time again where I work on the dashboard more!
I made the finger joins larger so it’s easier to sand them.
I also added support for the display. Hopefully if I measured correctly the display will be exactly flush with the top part / lid of the case:
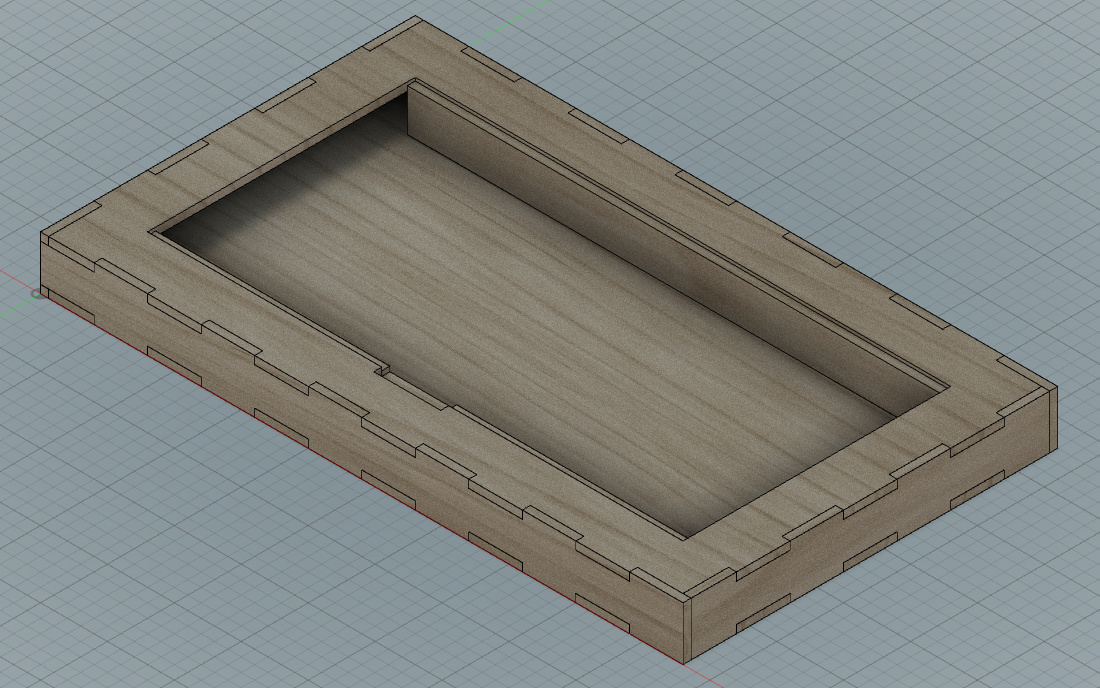
I also added clearance for the display cable which comes out of the display on the bottom side and it’s a flexible PCB and it gotta go somewhere:

I’m not thrilled by that solution since you will see it from the front. But the cable does not want to be bent too much and I want to only use a laser cutter to make this so for now that will have to do.
Case-wise the only thing missing is some place for the microcontroller to go and a hole for the USB port.
My goal is to get the tolerances tight enough so you can press fit the case together and require no glue at all.
1 Like
I worked a little more on this and now it shows custom text (in contrast to before where I “just” dumped a bitmap into the framebuffer):
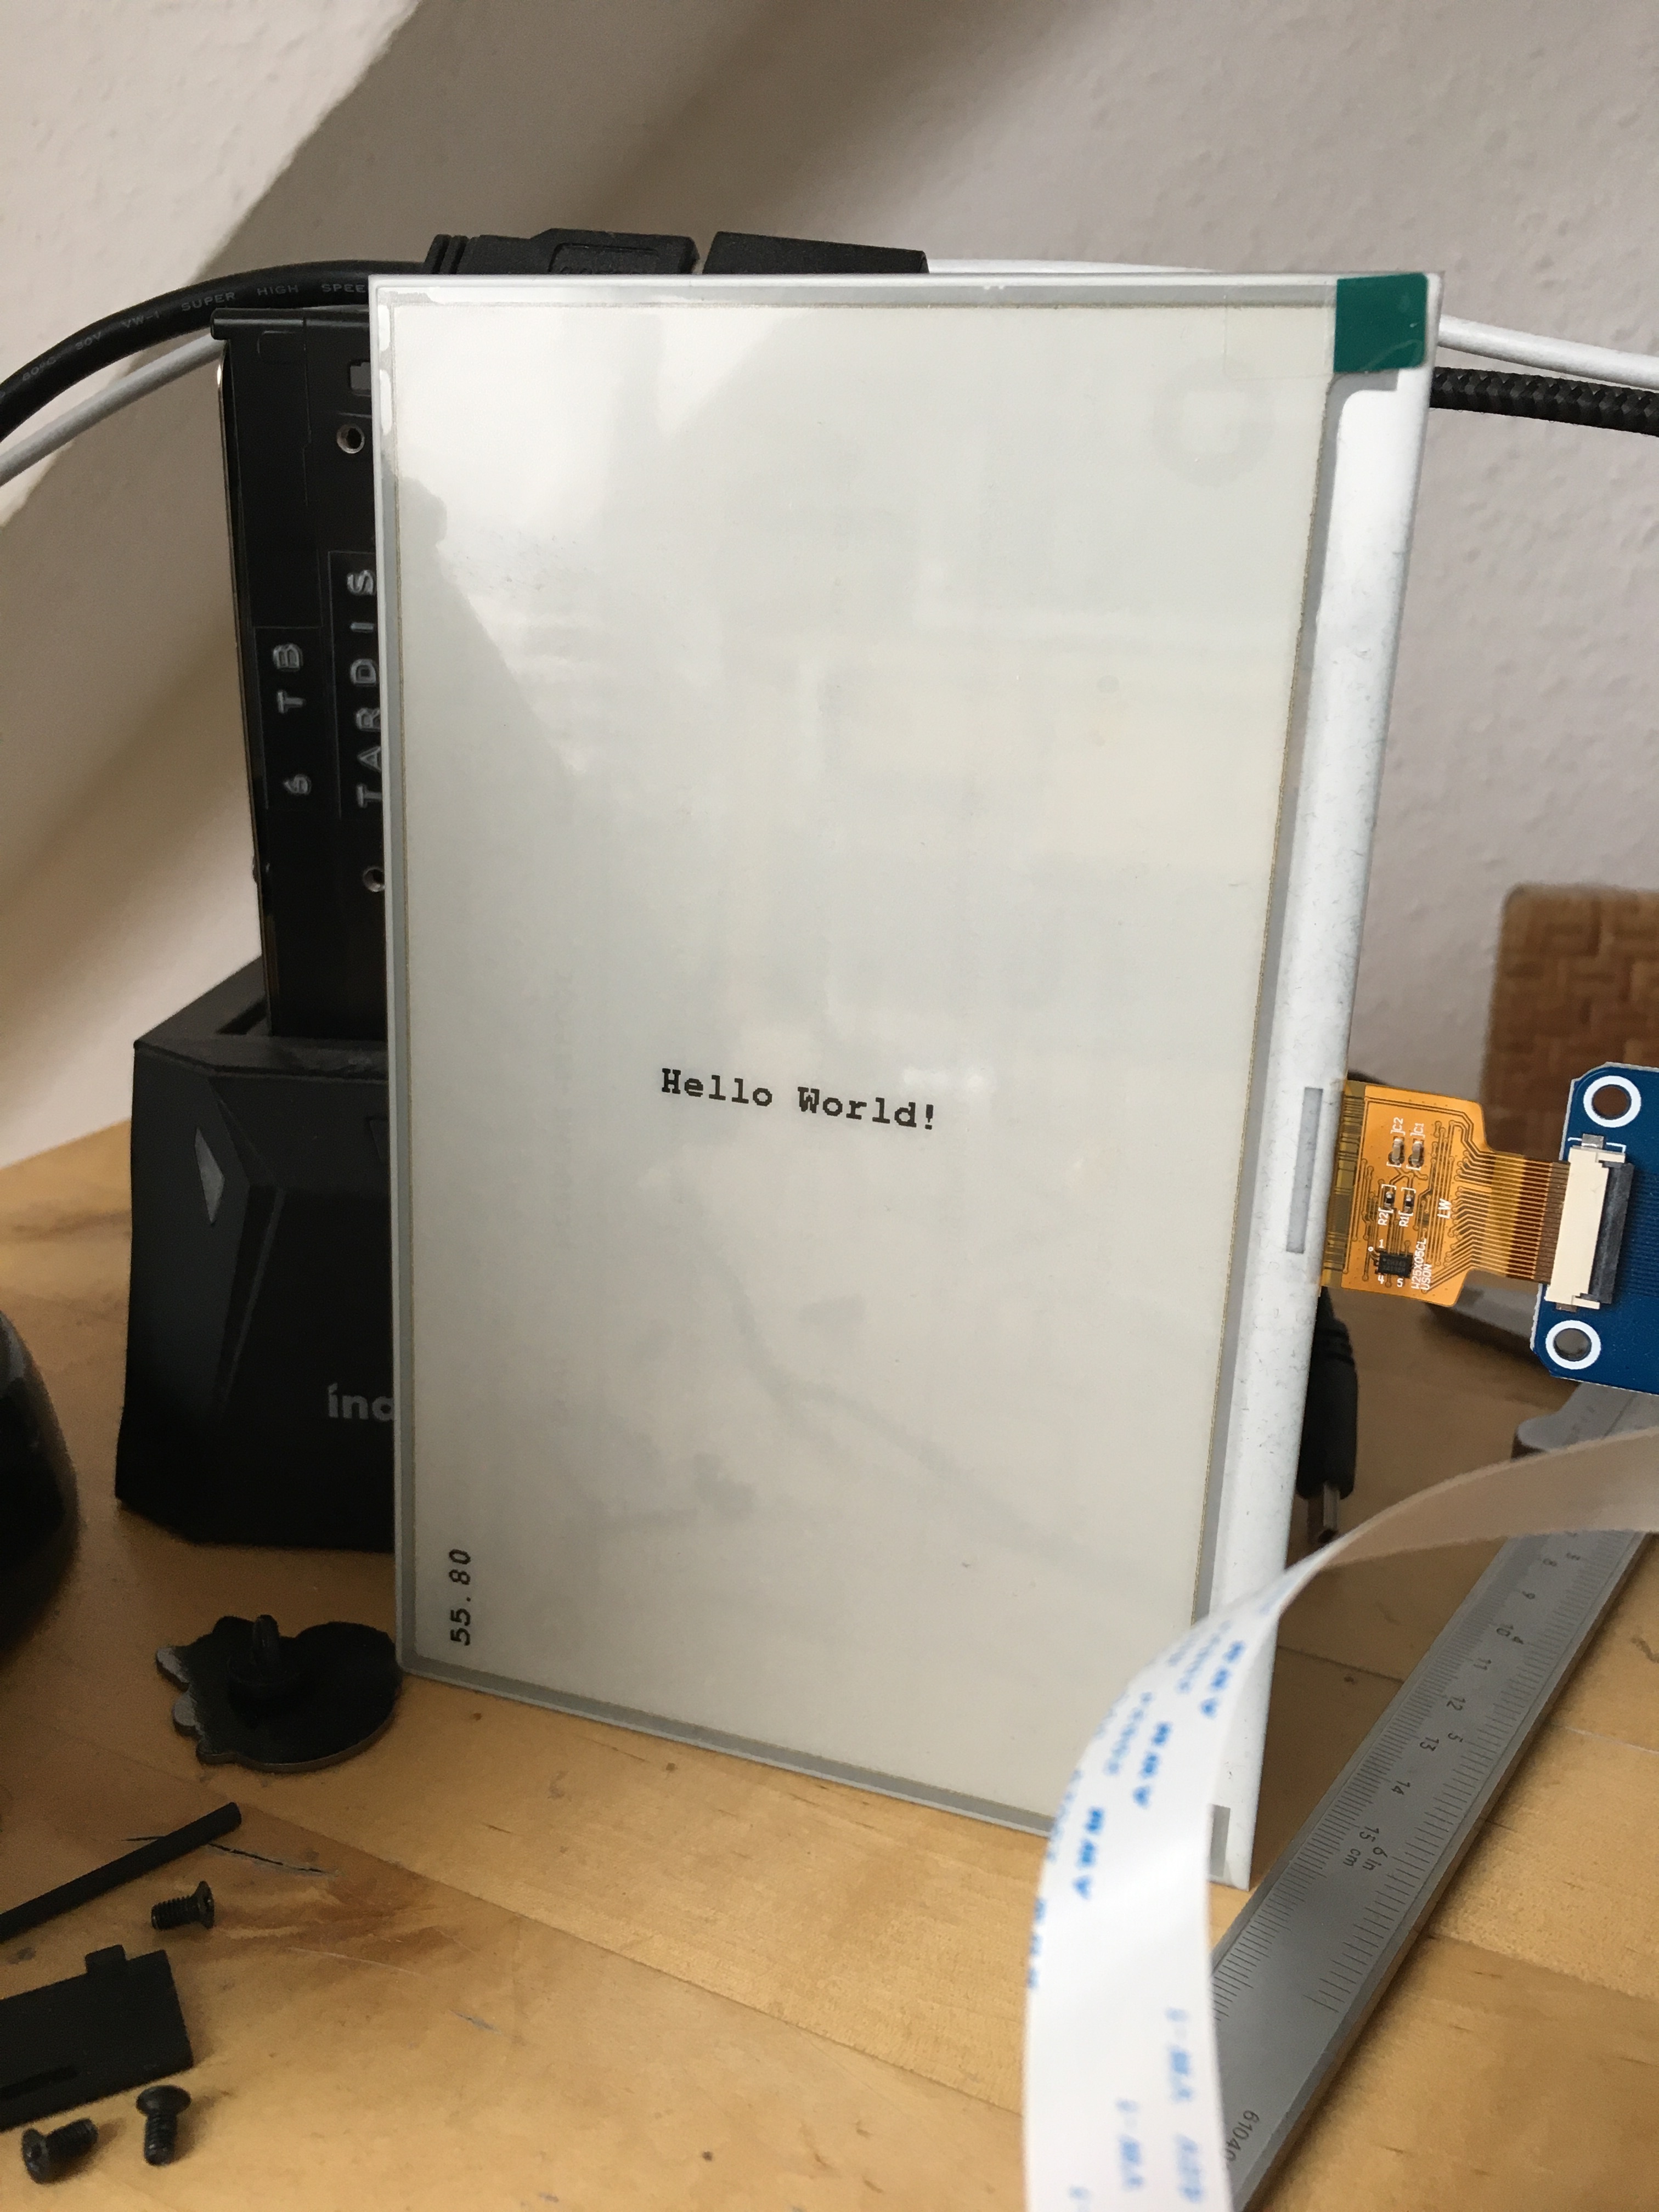
and it’s still awfully slow with screen updates taking seven seconds and a ton of awful flickering and you can see parts of the previous frames. However, there might be a solution:

This guy did some incredible reverse engineering and figured out what’s going on and how to get these displays to a very respectable 3Hz refresh rate by altering their firmware. He also published the code necessary for that. The bad news is, he doesn’t have the exact same display as I do. I got a larger one and it’s not just a matter of setting the correct resolution, no. These displays tend to differ from each other quite a bit so chances are there is additional modifications necessary. But at least it seems to be possible.
Also:
Not sure why I wrote that, because this display does not actually have mounting holes! Waveshare got other displays with mounting holes, but no, not the one I got ¯\_(ツ)_/¯
1 Like
Progress lately has been somewhat slow. I gave my Macbook to Apple for repairs because the battery is inflating despite it having less than 40 charge cycles. It is probably going to be covered under warranty (Thanks EU!). But in these trying times nobody knows how long the repairs will take.
So currently I am re-installing everything Arduino, CH34x driver and so on on my ancient early 2011 Macbook. Unfortunately it’s so old that the latest macOS, which includes said driver, does not run on it. Without the driver the ESP8266 does not show up over USB so I would have to use a dedicated FTDI serial converter and that’s a bit of a pain.
1 Like
It’s back!¹
I now got access again to an up to date macOS, so no more driver issues! Now work can resume on the prototype.
I also got this in the mail:
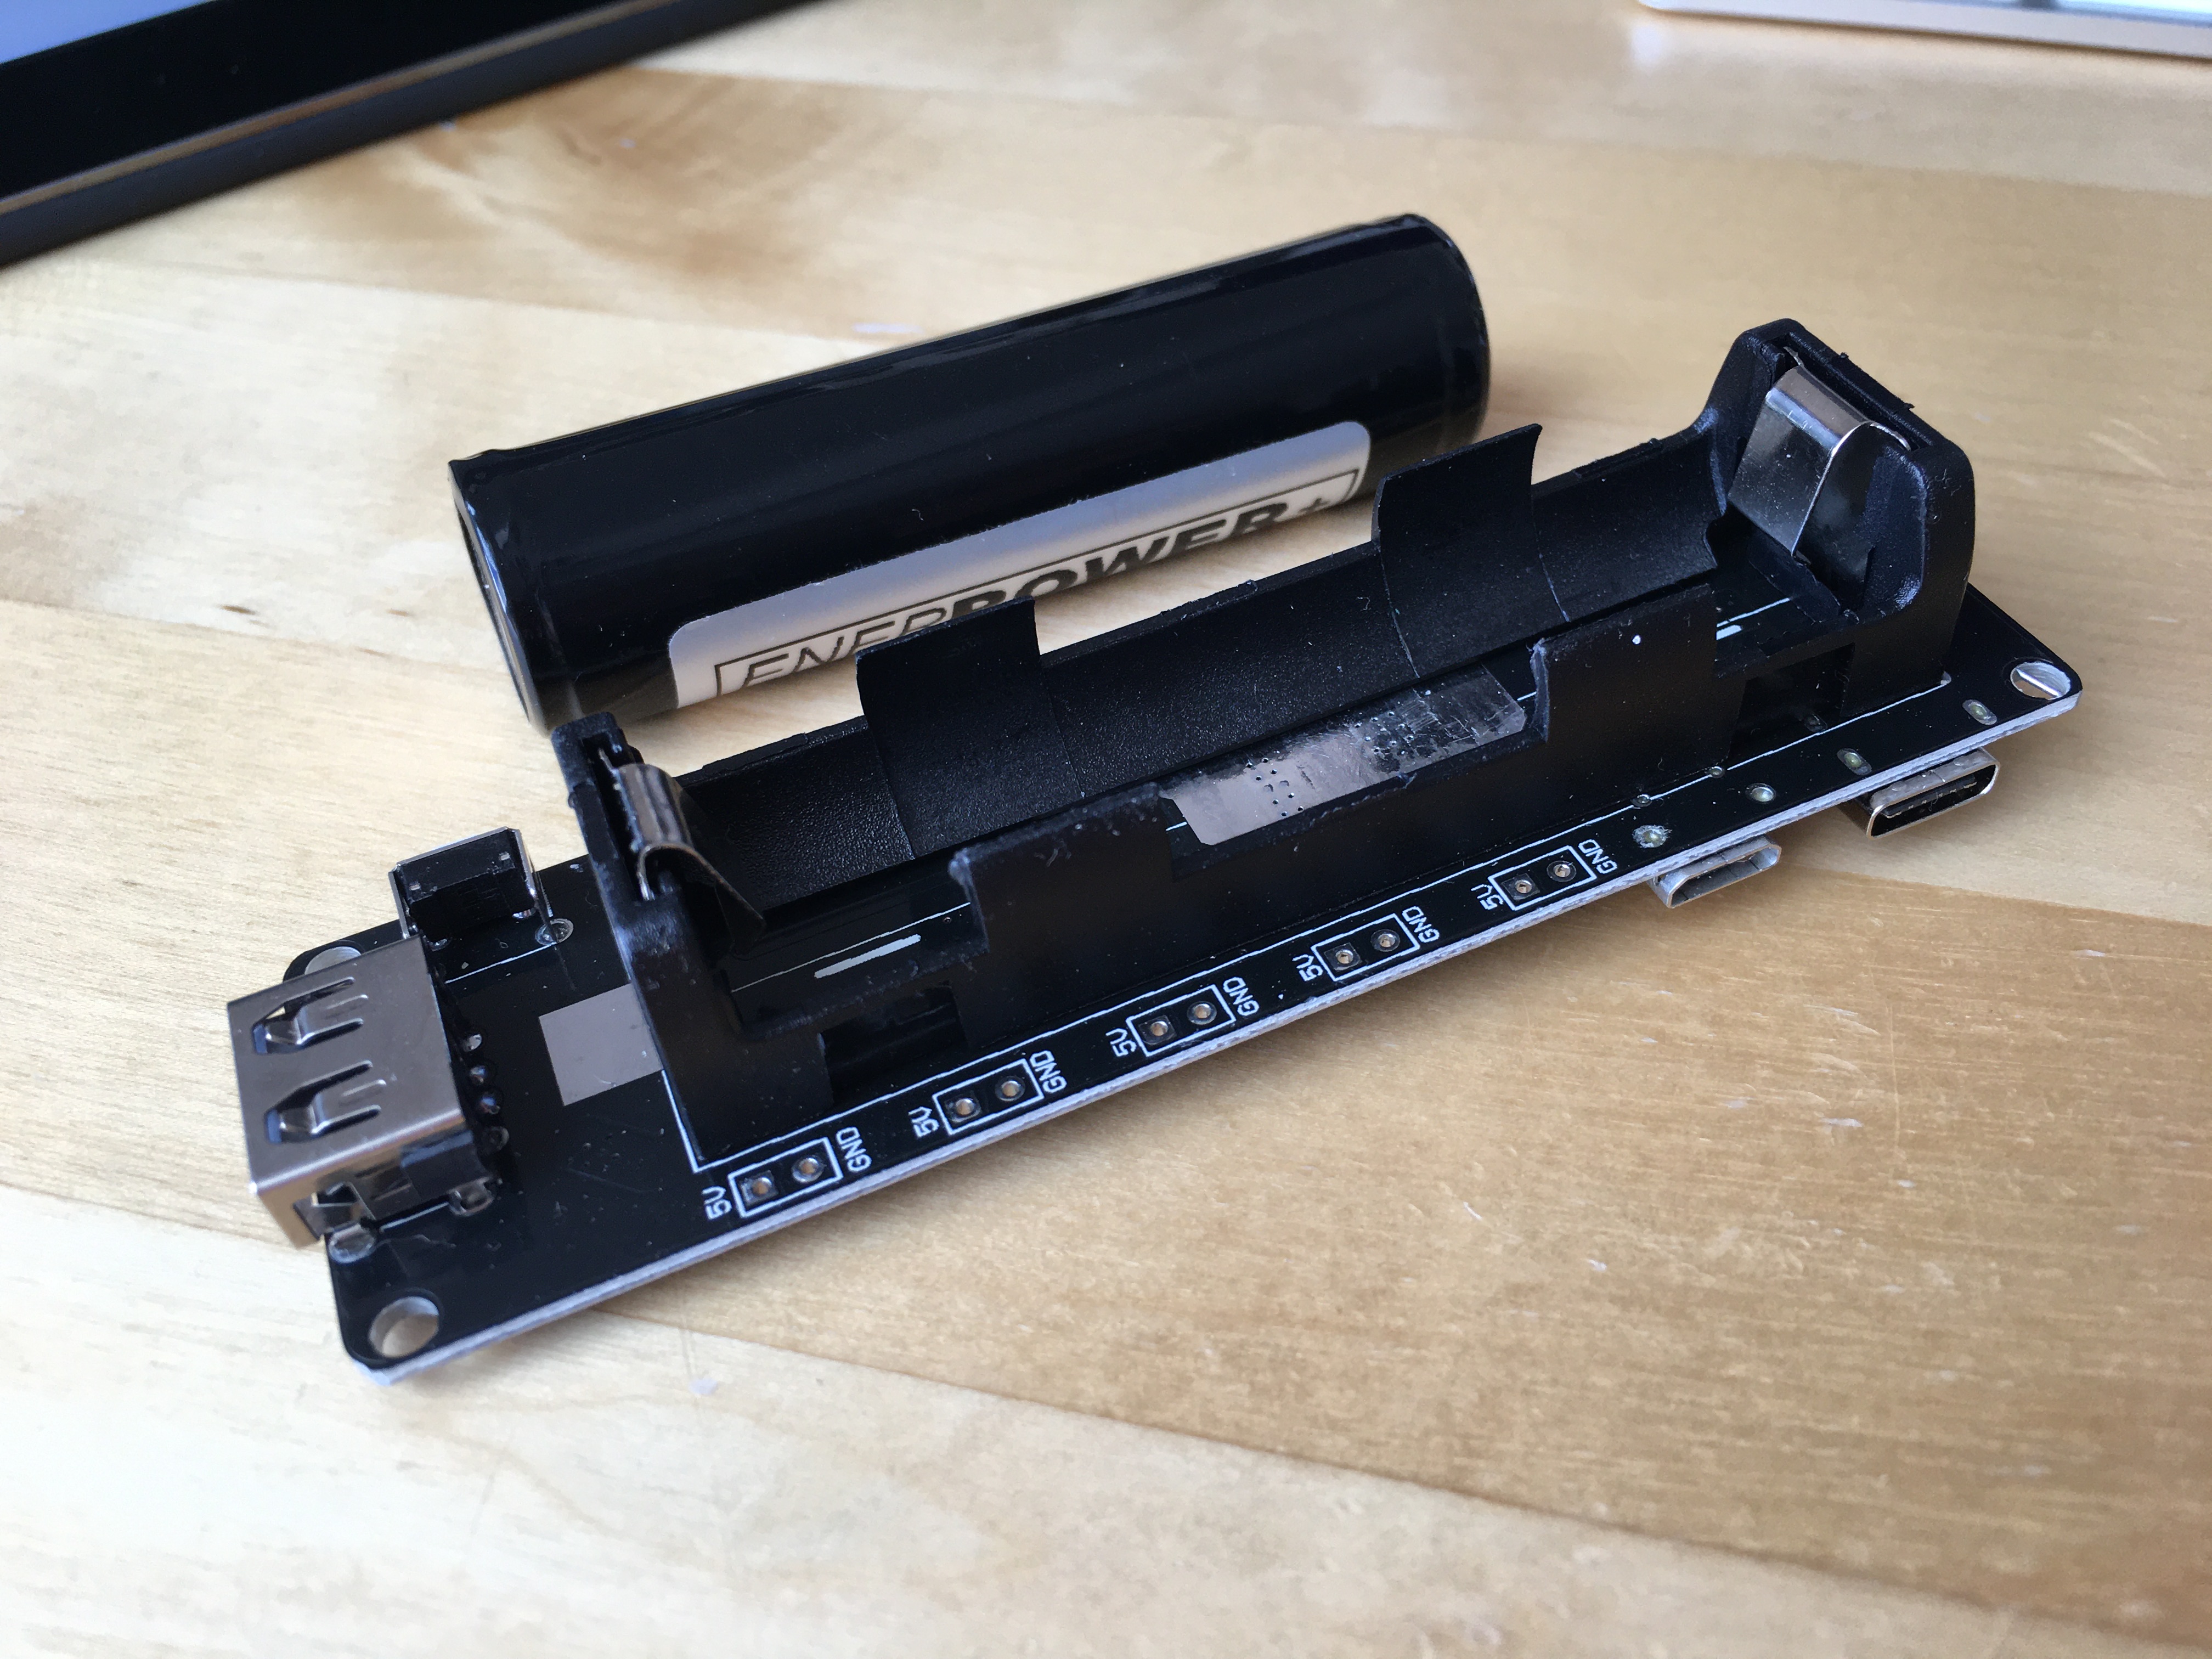
This is a 18650 Li-Ion battery module, you can plop in a battery and it takes care of correctly (dis-)charging it and it provides the required 3V for the e-Ink display and µC.
I think it’s nice to have a portable option. For those who want it. Which is probably only me but who knows!
¹ It got a new battery, new keyboard, new speakers, new trackpad, new top case – which means like 70% of the case is new. So basically all the touchy bits are new. Free of charge, because they have their keyboard replacement program going on and that covered it for some reason. The only sad thing is: My Touch ID sensor now wiggles a little bit  And I think it didn’t do that before. Oh well. You win some, you lose some. All in all, I’m quite happy about this rejuvenation procedure of my 2018 Macbook Pro, yay!
2 Likes
did I say no more driver issues? /coughs/ Oh, sorry, no, I’m fine, I swear!
Turns out I still got an older 3rd party driver installed and I’m removing it right now as we speak because Apple nowadays includes their own driver. So fingers crossed…
Edit: Ugh… What was it? The USB cable was plugged into my USB hub and that didn’t work. I now use a different cable which goes directly into my Laptop and this time it worked. Wonders of technology.
1 Like
Ladies and Gentlemen, dogs, cats, kittens, and whoever is following along!
May I present the my latest achievement, a display of my endless narcissism endeavour to bring the joy of Beeminder to a microcontroller near you:

Seriously: Your username is one of the first and low hanging fruits the Beeminder server throws at you and that’s exactly what you see here: An actual Beeminder server response on an e-ink display. It was just super easy to get at, so that’s why now I got my username on a screen in front of me. Not because, I dunno, I couldn’t remember who I was.
3 Likes
So cool!!
1 Like